Here are a few examples of what I'm going to explain.
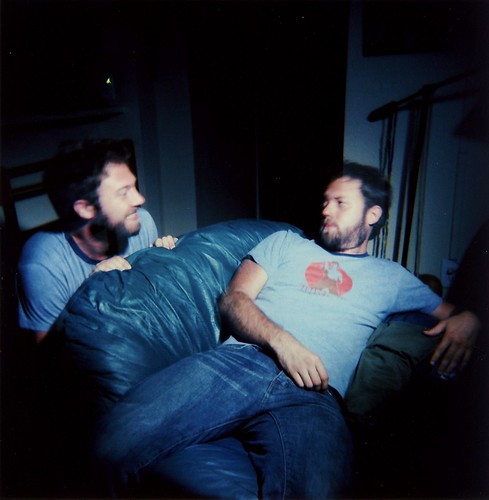
Me
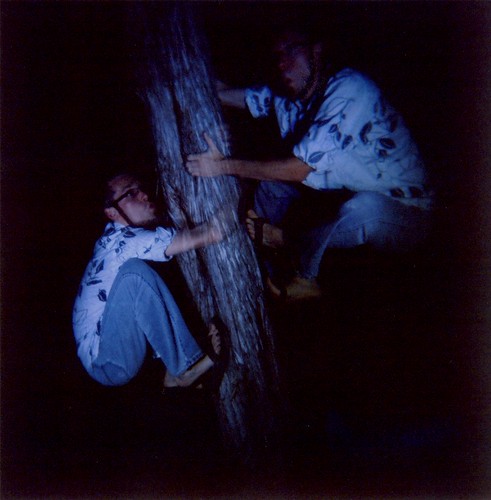
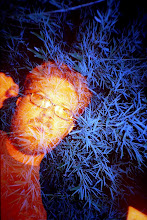
Rickey

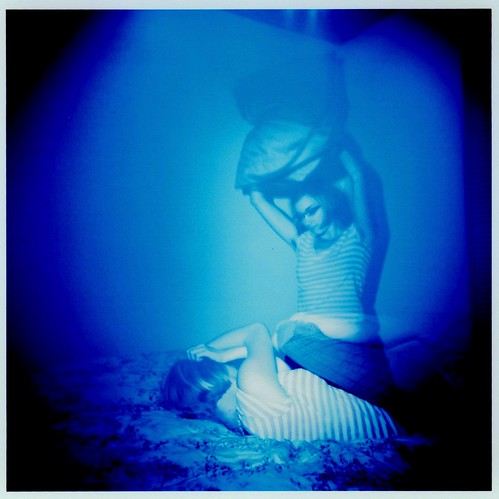
Mary
Here are the things you need: (as always I encourage improvisation.)
-A camera that allows multiple exposures (ie- LC-A+, Holga, Diana, Smena, etc.)
-A Tripod or anything that will ensure the camera won't move between exposures.
-A cable release or other way of holding the shutter open without moving the camera.
-A powerful light with a focused beam. Keep in mind that choosing an LED/Incandescent Bulb/Tungsten light will alter the shots color. Play with it.
-A Dark environment. Practically devoid of all ambient lighting. Basically, the darker the better.
Now, the whole point of this exercise is to prevent the usual ghosting you get with multiple exposures in well lit situations. We are trying to get there to really be two or more of the subject you are shooting. So the darkness helps prevent that as well as the narrow beam light.
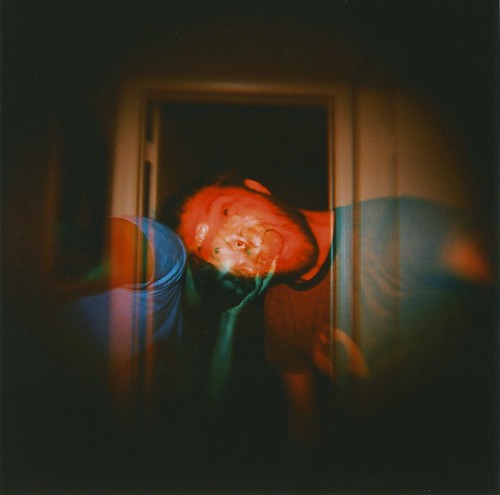
Example of ghosting
I took this shot with the holga 120 CFN. Once with a blue flash & then with the red:

Setup in your darkened location:
Give yourself about 4 1/2 feet to 9 ft to shoot this. More if your light is powerful enough. You can also get closer to subjects to light them, but I'll get into that later. By now you probably have an idea about how this will work. Pick your subject and background. set your focus for the first exposure and have them take position.

Procedure:
Using your cable release, open the shutter while it is still dark. Then, you will point the light at your subject from whatever direction you feel works for the shot.
Now, when you turn on your light, your goal is to only light them and not too much of the environment around them. That is, if they are going to do a 2nd pose close to their original. If the subject will be far from their original position, then paint the area around them with as much illumination as you want. Just don't over lap the place where the subject will be standing.
Paint your subject with light. You are really doing slow sweeping gestures. It shouldn't take more than 3-5 sec to cover your subject. More than that will cause your shot to get blown out. There may be times where you want to blow out a few sections of your model but light the rest correctly. Play with this and see what you come up with.
Once they have stood in their first position, you can either turn off the light and have them reposition, or if it is a more complex setup for a 2nd shot, close the shutter.
Once you have the second pose setup, you can re-open the shutter or turn the light back on if you never closed it. On your second round of lighting the shot, try not to cover the area the subject was standing in previous. Also, if you lit the surrounding environment well in the first shot, then go easy the next round.
Remember, the less light around the position where the model is going to stand or stood, the better. This prevents Ghosting.
That is the basic gist of things. Experiment with having someone light your subject from close up but they should stay out of the light's "sphere of influence". Light only partial areas of a living room environment or forest scene. These changes can drastically alter the mood of the shot. Also, use different lights for the same shot or cover them with gels for different effects and moods. There are a lot of clever combinations you can do.
For these examples I was using a Holga, as they are so easy to use for multiple exposures. Just keep clicking away. I was using a LED Shop light for the lighting, except for the shot of Rickey in the tree. That is extra dark because I only had the Lomo Ringflash on me.
I hope you found this helpful or fun or exciting. I always like to tap into other people's ideas and start bending them to my will. Get out there and start snapping shutters!

great tutorial!
ReplyDeleteGood explanation on how to prevent ghosting
ReplyDelete